AirMaks Arms at The British Shooting Show
News Events
Create a FREE business profile and join our directory to showcase your services to thousands.
Create my profile now!
Having looked at removing rust in a previous article, let’s look here at attempting some simple DIY home bluing. This doesn’t suit every airgun or old scope, however. As long as an older airgun is working well after a service or repair then personally it stays as is, warts and all. An old airgun can be allowed to show its history and unique character. On many, a stable inactive rust brown patina develops over many years. Add some staining and dings to the woodwork and the result can be magical. Old pre-War BSA's rarely have any active rust despite their wonderful earthy brown colouration, so a wipe over with oil is all that most need to keep them in a stable condition.
This patina finish is different to signs of neglect such as recent rust or extensive damage. We looked at using light abrasion to remove rust previously. Other damage such as dings to the steel or deep-pitting can warrant tipping the balance in favour of a fuller restoration. This usually means a re-blue will be needed afterwards. The best gun blue finishes are achieved by hot salts bluing in an industrial workshop or factory. Working with hot dangerous chemicals in the back bedroom is not a very good idea. There are a number of simpler over the counter cold bluing solutions available for use at home. Remember though that these are still dangerous chemicals and need care in handling.
Cleaning Solutions – old fashioned Vinegar used to degrease and strip bluing
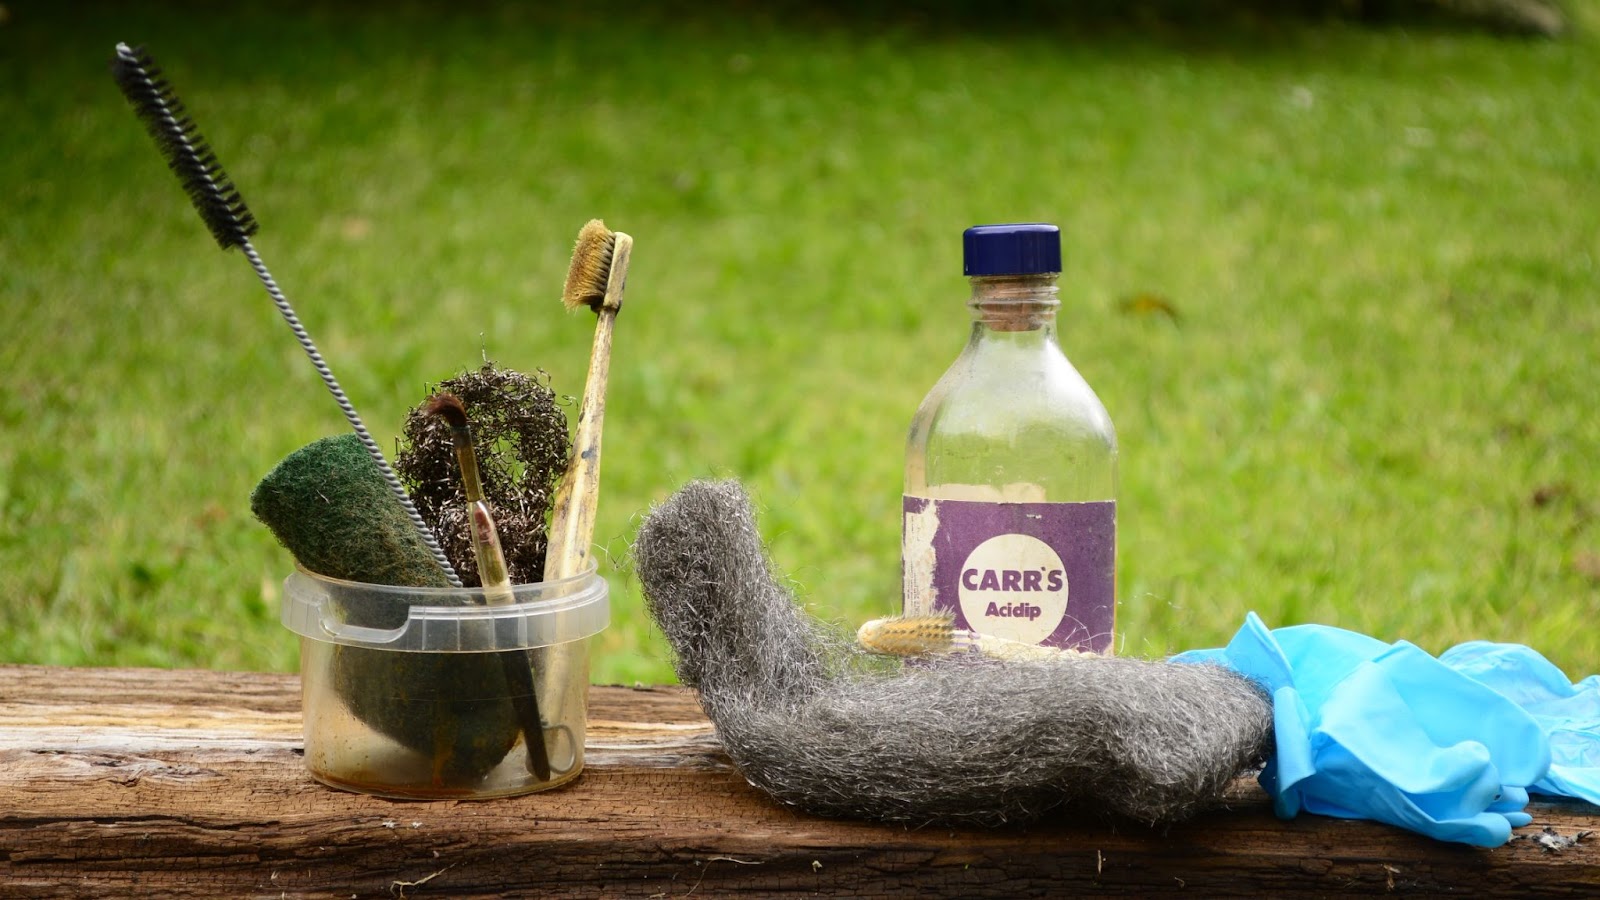
Cleaning is essential before any real work commences. All dirt, then grease, then grease residue must be removed in separate stages from the surface of the steel. Washing down, wiping off, then degreasing. This includes oils in your skin, so wearing gloves is mandatory after removing any initial physical dirt. Cleaning can be part mechanical and part chemical using wire wool, small brushes, scourers along with a solvent. A small barrel cleaning tool has proved very handy for scrubbing threads and crannies clean with kitchen pads dipped in a solvent used for cleaning away dirt. Vinegar has been used here as the main solvent. This was also used to immerse some parts. This removed old bluing on the Crosman 2200 tube with ease. A caustic acid cleaner was then used as a last final stage cleaner with a quick wash in water to arrest it afterwards. Others have used aerosol brake cleaner that dries off by itself. Changing gloves is also vital, separating contaminants between the early and final cleaning stages before applying any blue solution or cream.
Get ready before starting, tools cleaners, degreasers
Most bluing failures are due to a lack of cleaning the steel fully. On rare occasions, the steel's composition may be the reason. There is no simple one pot solution. Failures can take the form of patchiness or streaks to the blue finish. Thankfully the processes are fast and straightforward so repeating them again but with a different product should help. A number of products in liquid or cream form are available, each made to the manufacturer's own recipe, with slight differences in their composition so a number can be kept ready for experimenting.
A disposable fine weave kitchen cloth cut into squares proved useful for application. Cotton buds can also be used for small areas and parts. Wiping on quickly helps stop a dry edge from developing; covering the entire area in one go. Many wipe-on creams and liquids are very fast-acting, requiring only short periods of contact before neutralising them with water. Following the manufacturer's individual instructions is vital. The work is usually washed immediately to neutralise the solution then dried. Results can be satisfactory after only one application but it’s common to re-apply more coats. Some products work best by re-application with a second or third coat, others such as immersion liquids are slower and can provide a good finish in one go if allowed to work slowly. There are a lot of variables involved and it's always a case of experimenting for the best results.
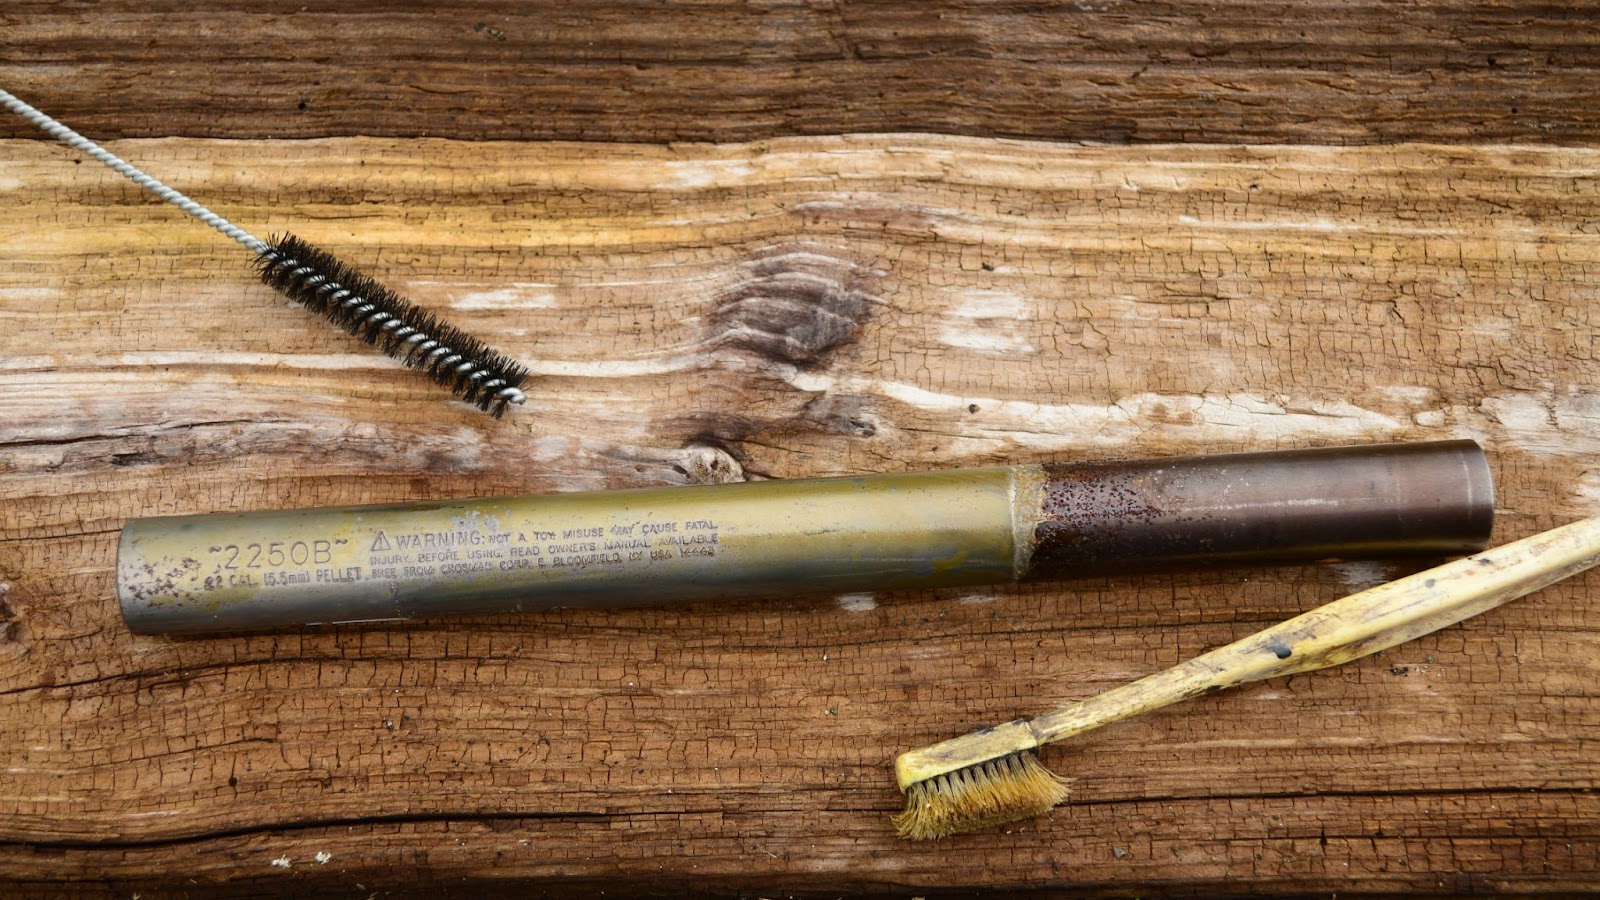
Partly stripped for comparison
Vinegar was good but the steel still needed a proper scouring
Fine wire wool can be used to scrub the surface between each coat although this can be counterproductive if the finish is damaged so this must be done slowly if at all. The surface should really be cleaned between coats to remove residues created by this, but in reality, this was left out of the equation here and on these pieces to no detriment.
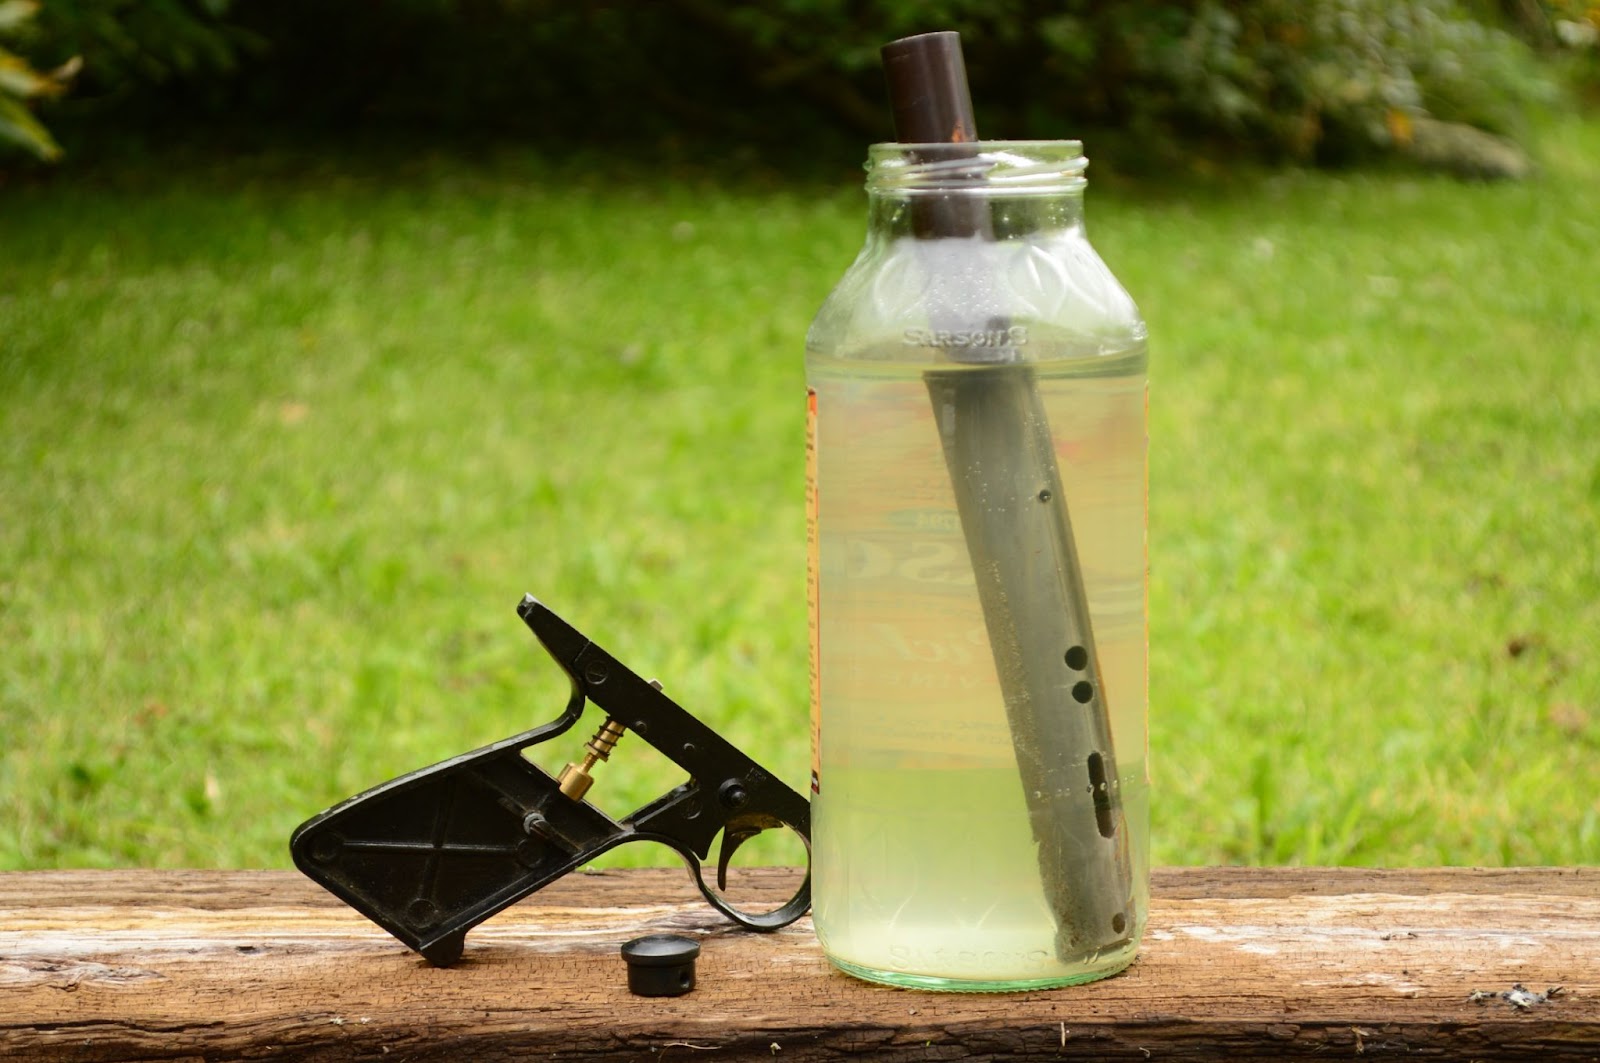
Dipping the piece into a container filled with a large volume of bluing solution is also a common method of working at home. Usually, the chemicals although similar are diluted and are slower acting taking minutes rather than seconds to create a coat. Phillips here in the UK make their own liquid immersion solution in addition to their wipe-on blue crème concentrate. This is simply diluted to strength with water. If a deep enough container cannot be found, another canted at an angle and held in that position securely and safely will provide enough depth for a thicker part to be immersed. After diluting half the original bottle, a suitable trough was found to hold the working liquid. Following any manufacturer's instructions is again important and this gave a satisfactory finish with very little effort. A further experiment for the future will be to apply their own or another manufacturer's crème version over this liquid finish.
Immersion Bluing Bath
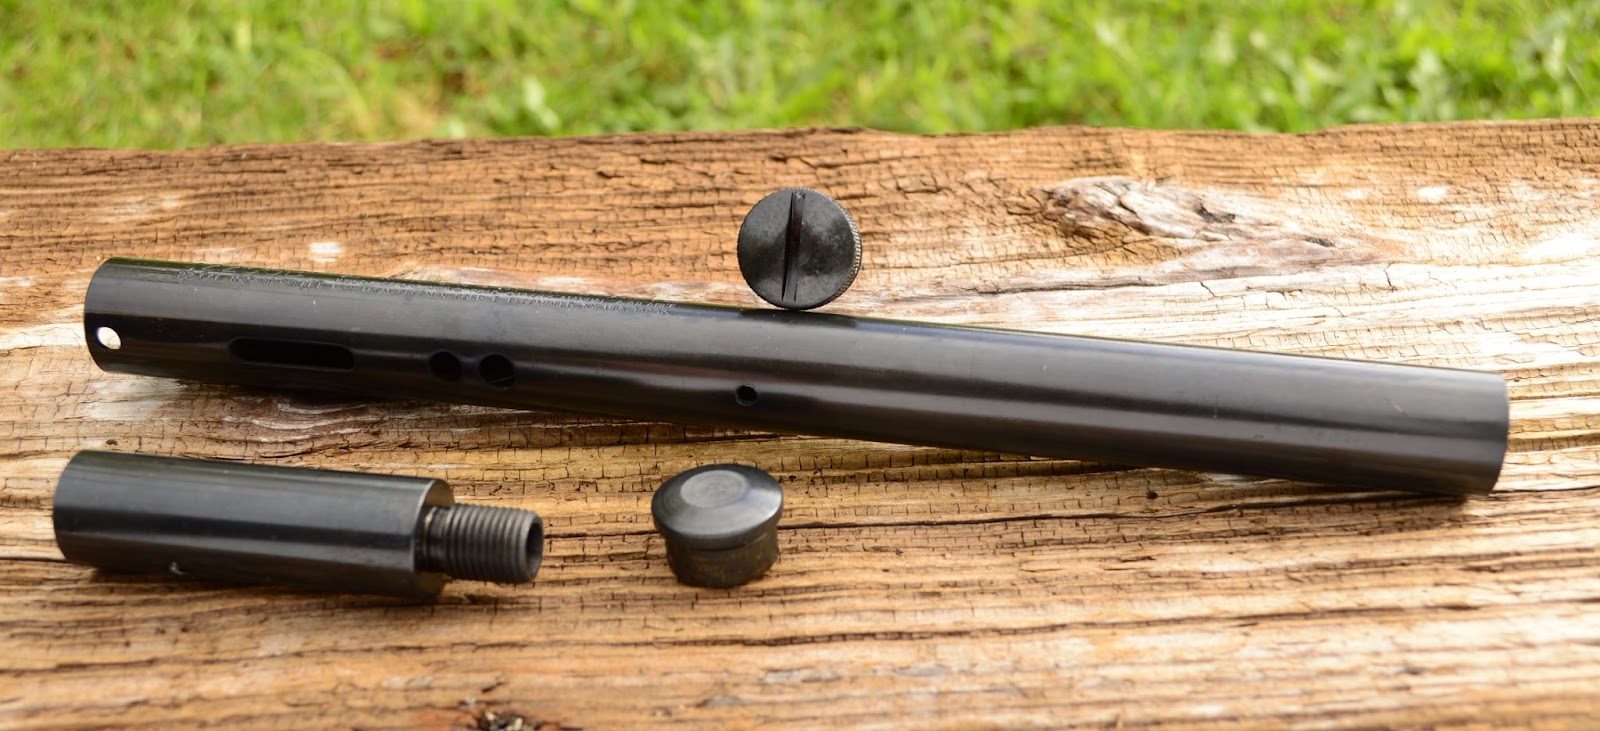
Final Result, Crosman 2250 parts and a silencer adapter
In all cases after a satisfactory result is obtained washing the steel clean of all chemicals is an important last stage. This arrests any chemical activity. Some spray penetrating oil can be applied to drive off any moisture and then some light oil can be used to seal the surface.